When you hit “Start Streaming” on OBS or any broadcasting software, a fascinating journey begins—one that most viewers never think about. Your video and audio don’t just appear magically on screens around the world. Instead, they go through a complex, rapid-fire sequence of technical steps that make live streaming possible.
Let’s follow the path of your stream from your computer to your viewers’ devices.
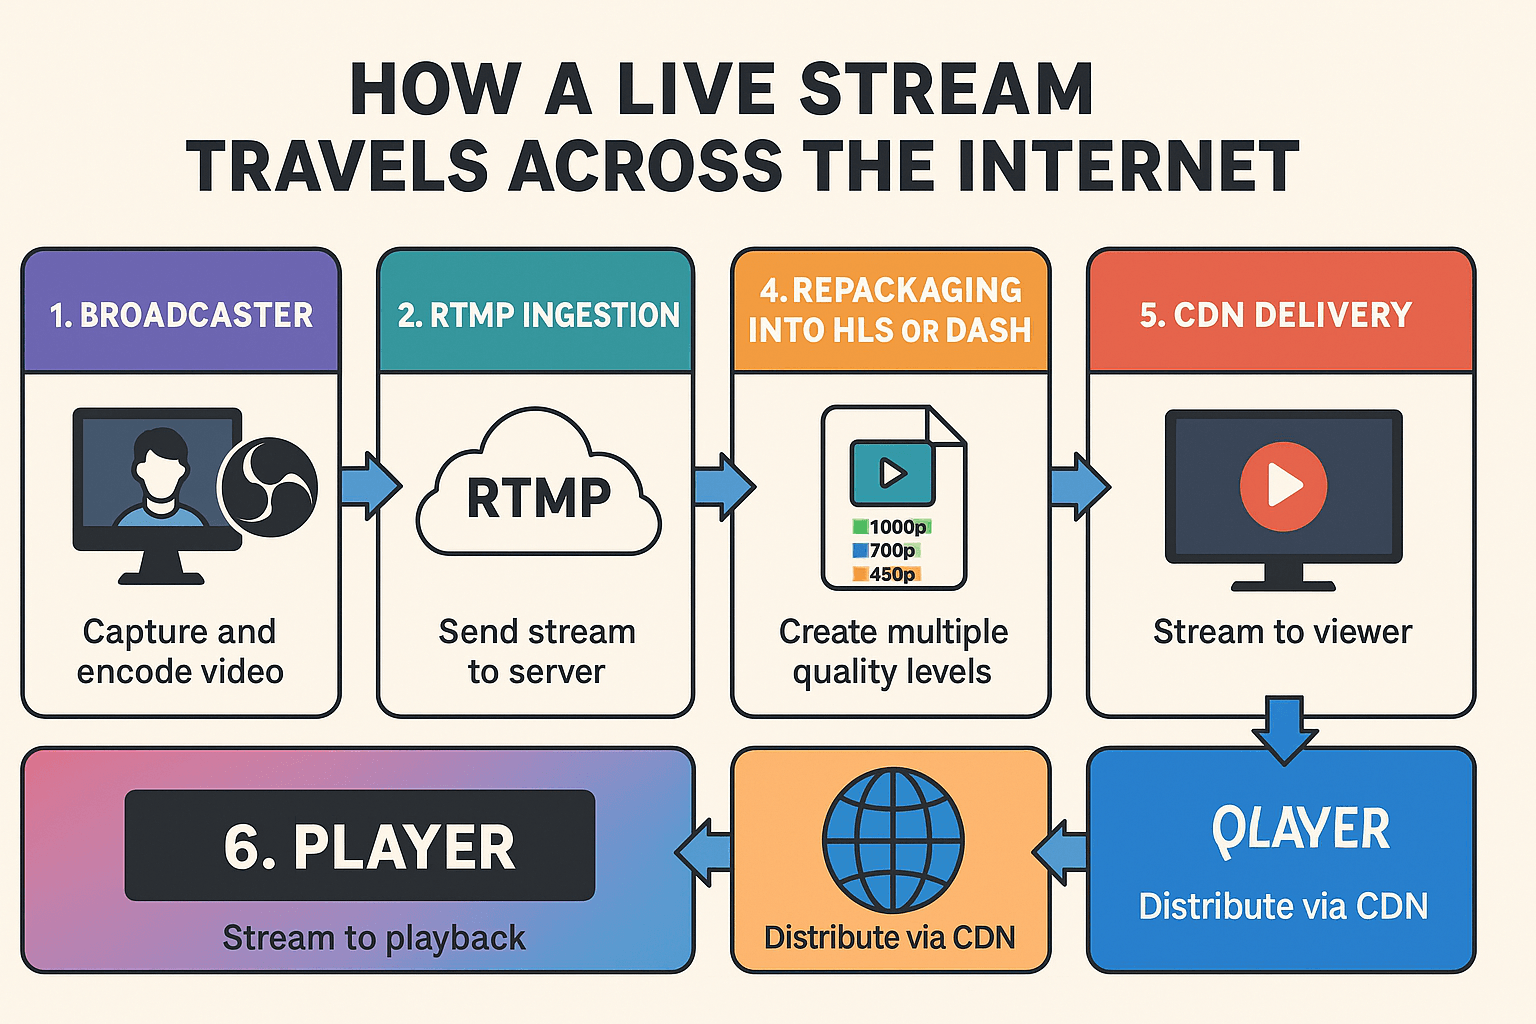
1. The broadcaster: where it all begins
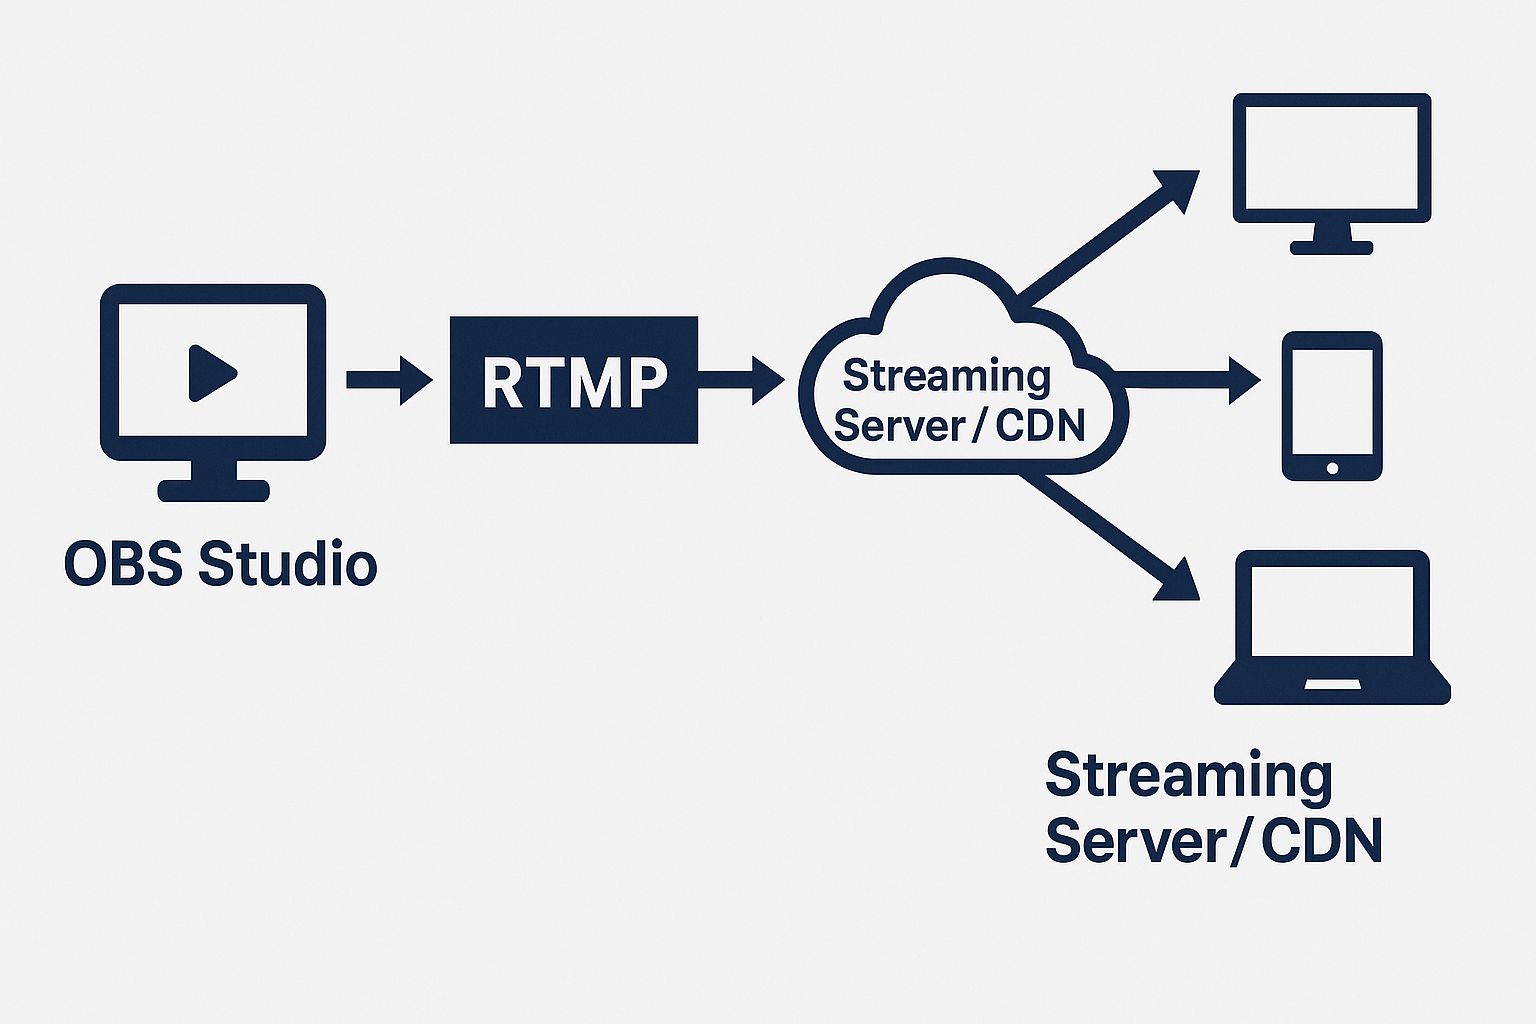
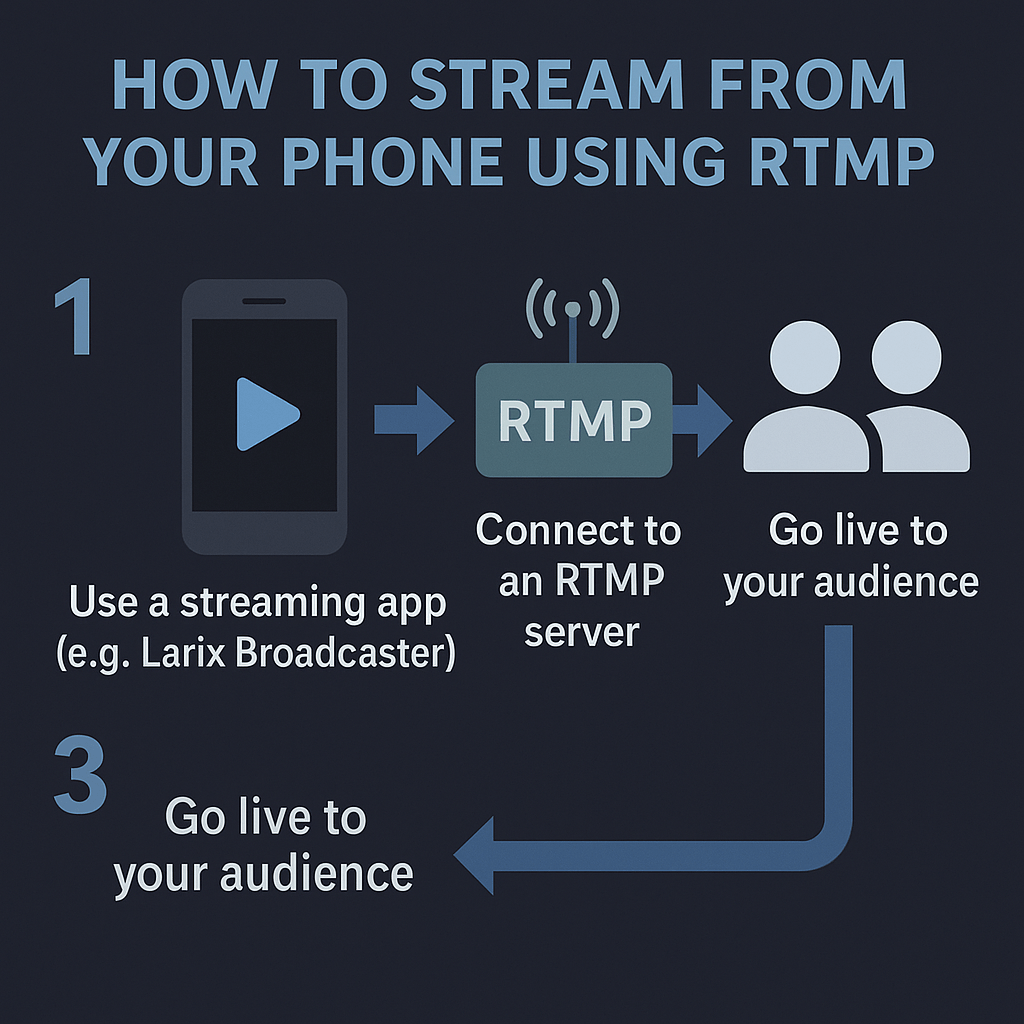
It starts with you—the broadcaster. You’re using software like OBS Studio, vMix, or Wirecast. Your webcam, microphone, and screen are all being captured, mixed, and encoded into a digital video stream.
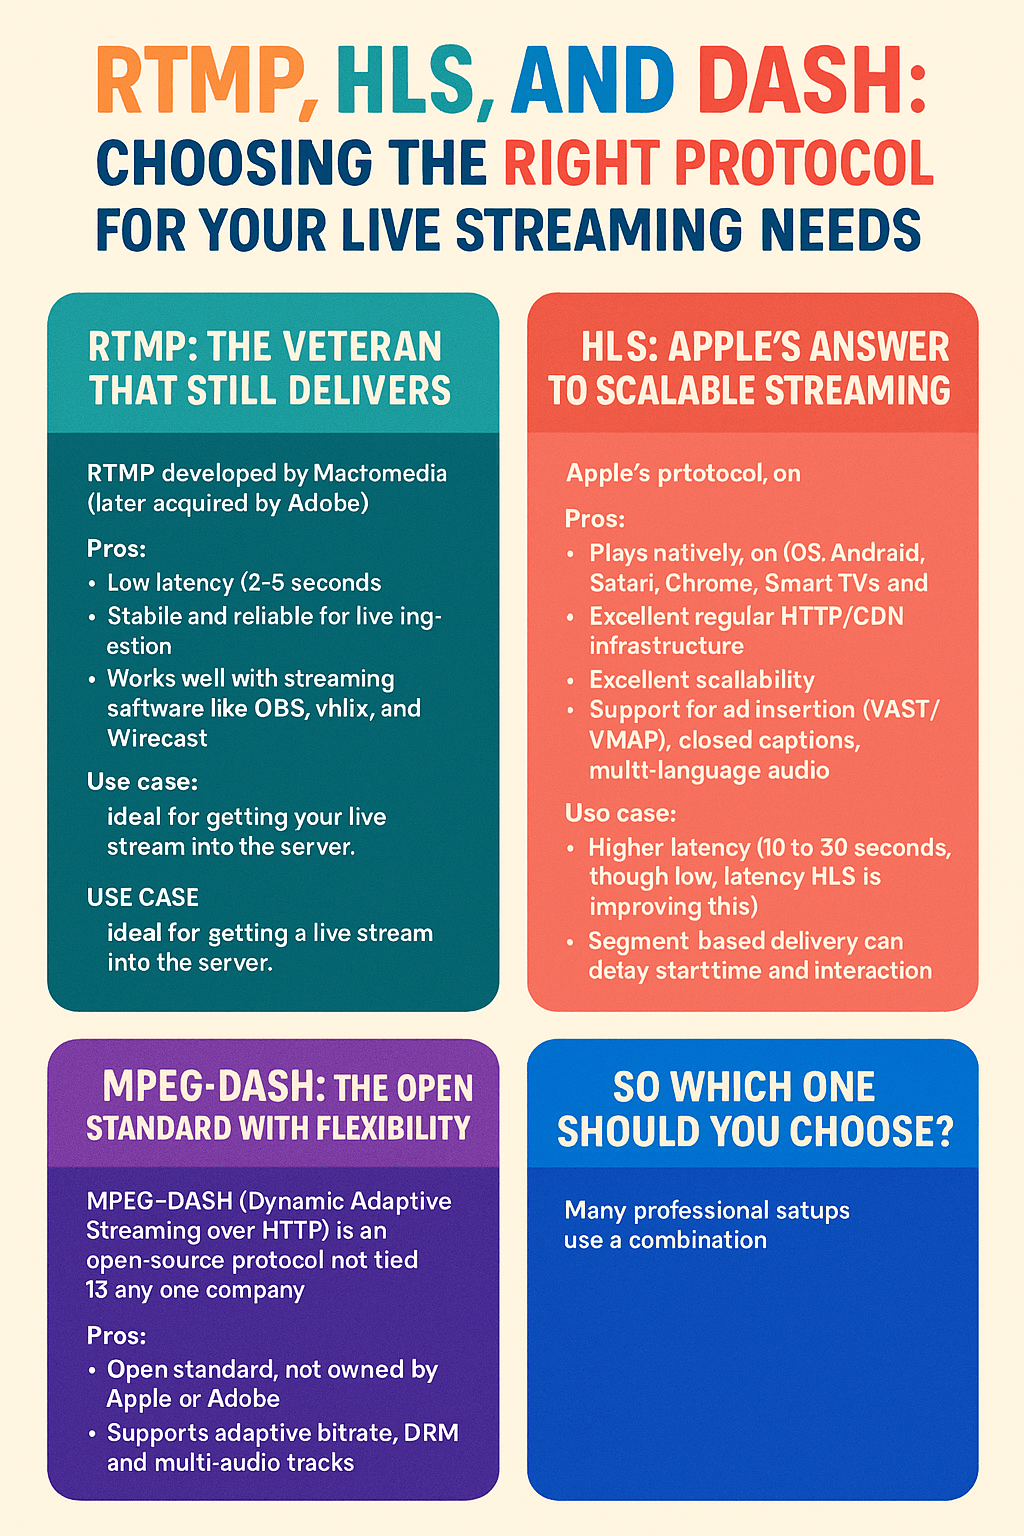
Most streaming software sends that stream using the RTMP protocol. Why? Because RTMP is reliable, lightweight, and still the standard for pushing live video to a server.
2. RTMP ingestion: reaching the server
Once the stream leaves your computer, it travels across the internet to an RTMP server. This could be:
- Your own server (e.g. Nginx with the RTMP module)
- A cloud platform like Wowza, Red5, or RTMP-Server.com
- A streaming CDN or third-party host
This server is the first critical stop. It receives the raw stream and gets it ready for distribution.
3. Transcoding: creating multiple quality levels
If your server is equipped with transcoding software, this is the moment where your stream is re-encoded into multiple resolutions and bitrates. For example:
- 1080p for users with fast connections
- 720p for average bandwidth
- 480p or 360p for low-speed users
This process allows for adaptive streaming, which means viewers get the best possible experience based on their internet speed.
4. Repackaging into HLS or DASH
Your RTMP stream, now possibly transcoded, needs to be converted into formats that modern devices can actually play. That usually means:
- HLS (HTTP Live Streaming) for mobile devices, Smart TVs, and browsers
- MPEG-DASH for certain HTML5 players and custom apps
RTMP is great for sending, but HLS and DASH are what most people actually watch.
These protocols chop your stream into small video segments and send them to viewers over HTTP—the same protocol used for websites.
5. CDN delivery: scale without breaking
Now the stream goes global. Your server sends it to a Content Delivery Network (CDN). The CDN has edge servers all over the world, so your content gets closer to the viewer.
This reduces buffering, increases reliability, and helps you handle thousands—or millions—of simultaneous viewers.
Popular CDNs for streaming include Cloudflare, Fastly, Akamai, and even YouTube’s and Facebook’s internal networks.
6. The player: where your stream comes to life
Finally, the viewer loads your stream in a video player. This might be:
- An HTML5 player on your website
- JWPlayer, Video.js, or Clappr
- A Smart TV or mobile app
The player pulls the segments via HLS or DASH, stitches them together in real time, and presents your live broadcast to the user. If you’ve enabled ads, captions, or multiple audio tracks, these features also appear here.
Bonus: what about latency?
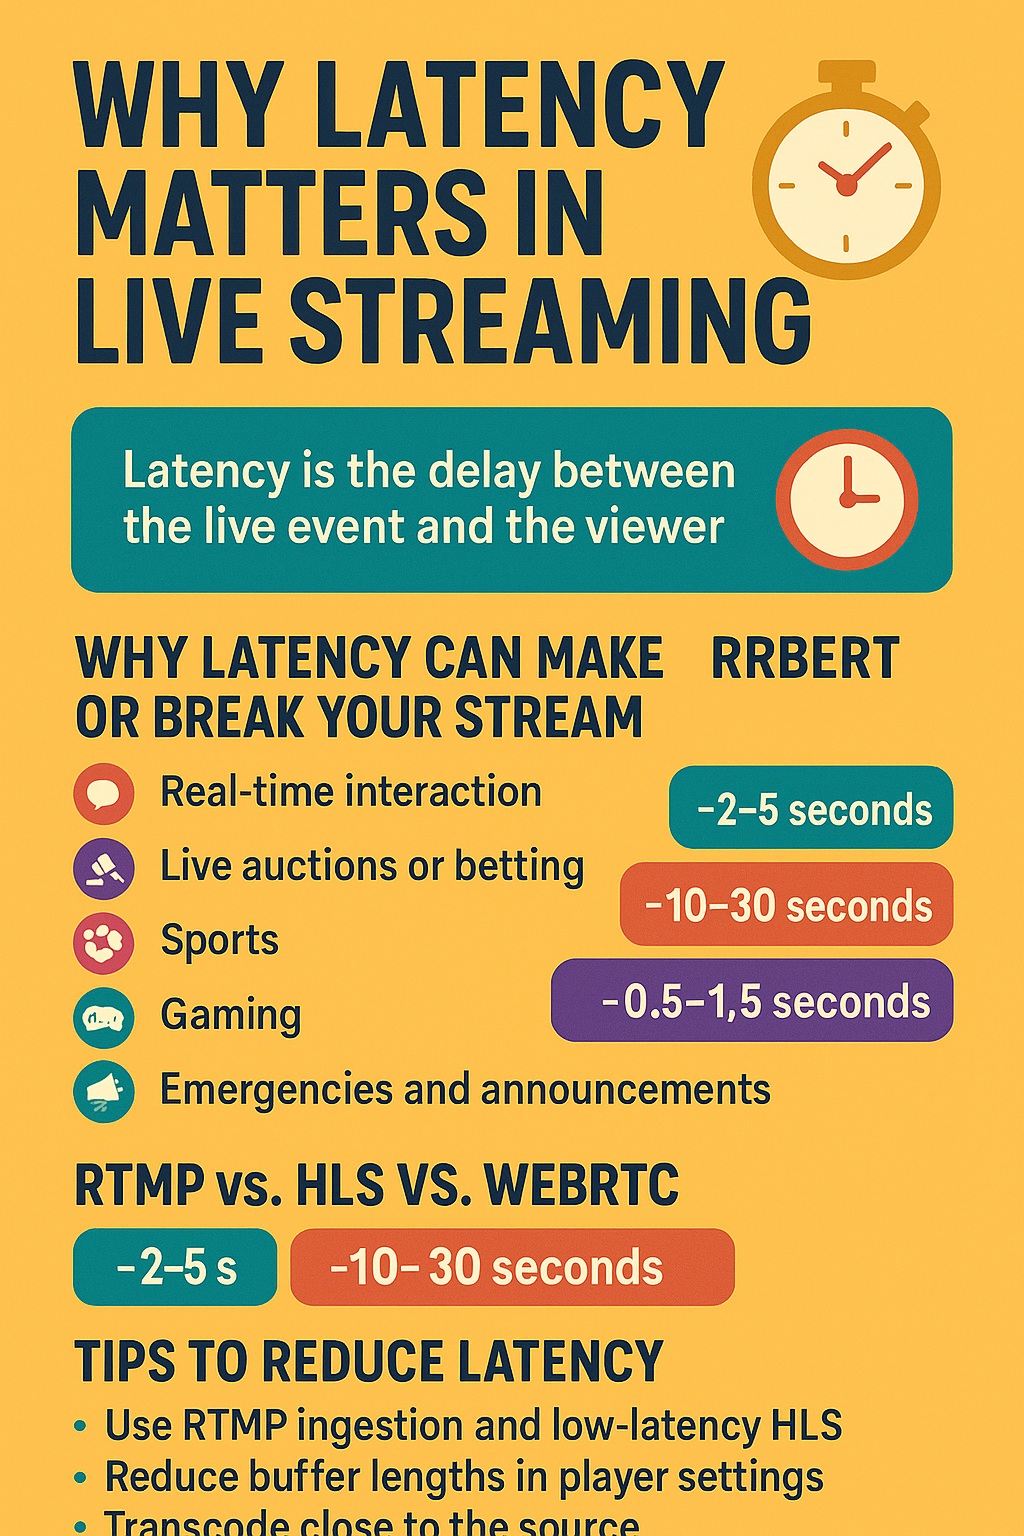
Each step adds a bit of delay. A typical OBS → RTMP → Transcoding → HLS workflow might have 10 to 30 seconds of latency.
To reduce this, some use low-latency HLS, WebRTC, or direct RTMP-to-RTMP relay for specific use cases. But for most, a few seconds of delay is an acceptable trade-off for reliability and scale.
Final thoughts
Your stream doesn’t just “go live.” It moves through an elegant, engineered chain that transforms raw video into a global broadcast. Knowing how this works helps you improve quality, fix problems faster, and scale like a pro.
Whether you’re streaming paddle tennis, live concerts, church services, or political debates, the journey is always the same. It all starts with one click—and ends on thousands of screens.


